Sawbuck Table Part 6

January 22, 2014

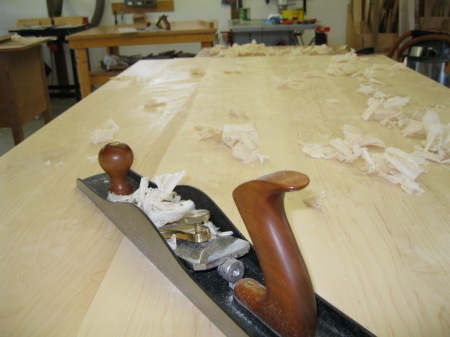
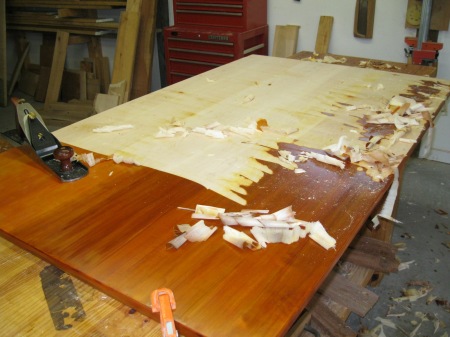
The top is flattened using a hand plane.  This short sentence represents a lot of work; a commercial cabinet shop would run the top through a huge drum sander.  My advantage is I can listen to bluegrass (Ricky Skaggs) while I work.

IMG_2316

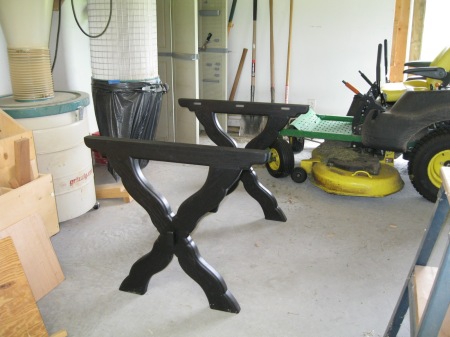
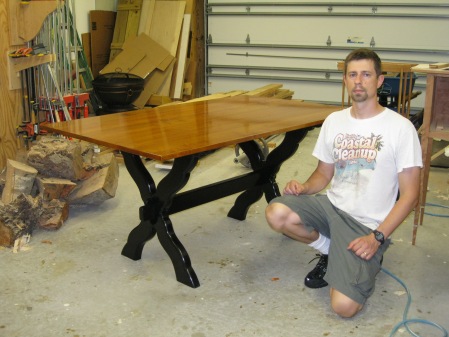
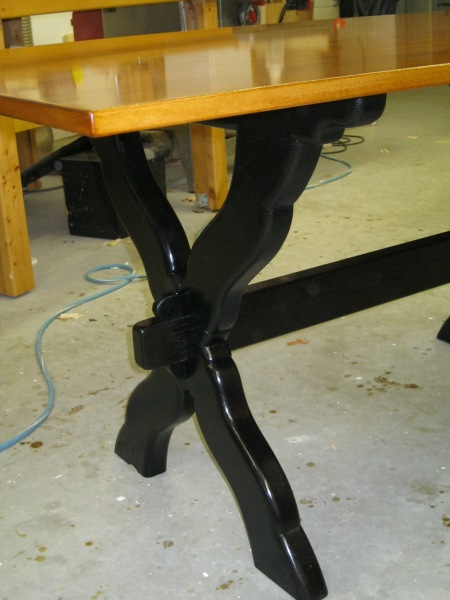
I ebonized the legs using a concoction of vinegar and steel wool.  To deepen the color I added two coats of ebony oil stain.

IMG_2322

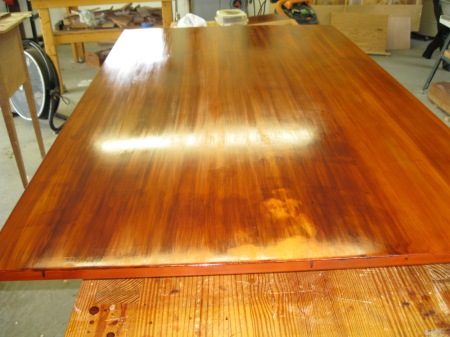
Even though I was careful to test my finishing process on scrap boards before finished the top, I still had major problems with streaking.  The problem was the tinted shellac, it was drying too fast in the hot summertime temps.  Lesson learned, don’t try to use shellac on large tops in hot temps.

IMG_2321

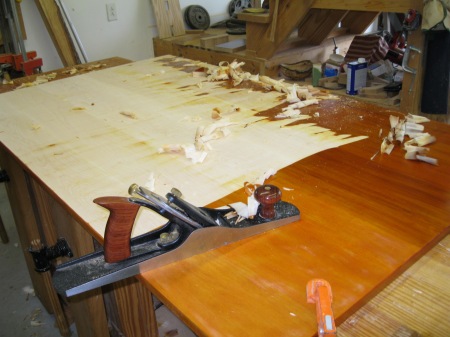
I planed off the finish and tried again.  Sometimes you have to eat humble pie.

IMG_2337

IMG_2338

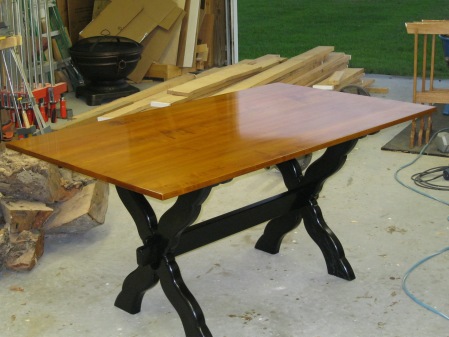
After several practice runs on scrap pieces, I was finally able to get a good finish on the top.

IMG_2346

I don’t normally like using much color in my finishes, but I have to admit the effect is pleasing to the eye.

IMG_2340

IMG_2355

IMG_2349

The finish dried glossier than I anticipated so I dulled it by rubbing it down with 600 grit sandpaper (I forgot to get pictures afterward).

Sawbuck Table Part 5

January 22, 2014

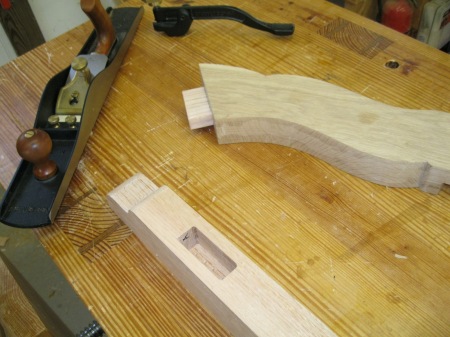
The legs are connected to the table supports (table rails) with mortise and tenons.

IMG_2280

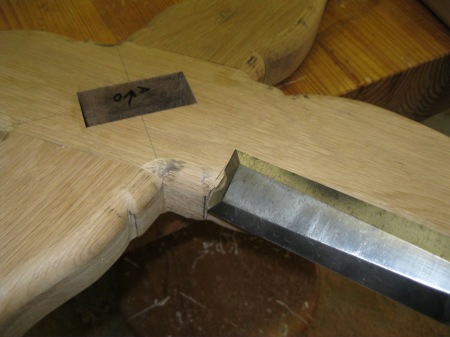
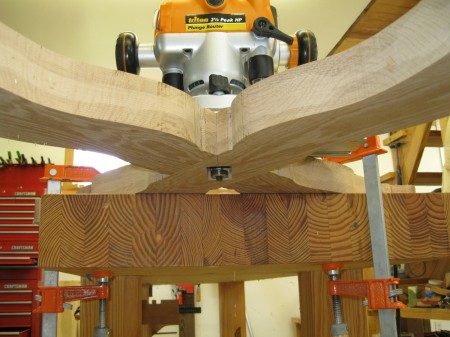
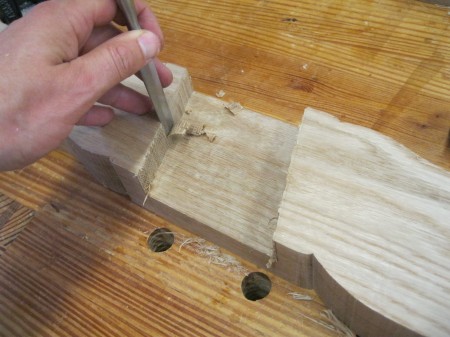
The legs are rounded over utilizing a handheld router.  The roundover bit will not cut where the legs intersect with each other or the rails due to the diameter of the router bit bearing.  These areas are rounded over by hand using a chisel.

IMG_2286


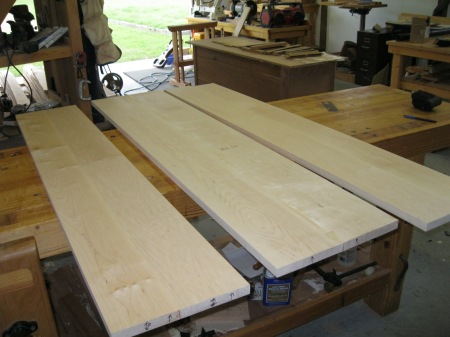
The top is glued up incrementally two boards at a time, run through the planer, then the sections are glued up to make the top.

IMG_2293


IMG_2291

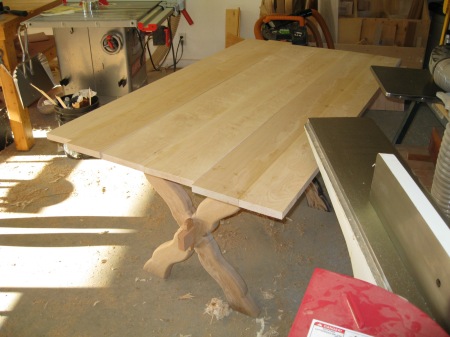
Prior to trimming the top to size I could not resist the temptation to dry assemble the table and set the top on it to see how it looks.  Unfortunately woodworking is not my full time job; it takes a long time to go from drawn plan to completed piece, so this first glimpse of how a project will look is very satisfying.


Sawbuck Table Part 4

March 6, 2013

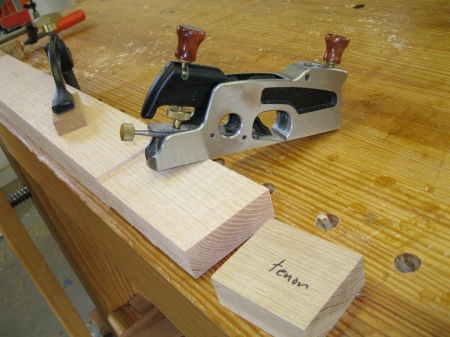
Use the piece representative of the tenon to help you layout and mill the actual tenons.  I used a dado blade on the table saw to rough the tenons to size, then a rabbet plane to help fine tune the fit.

IMG_2251

IMG_2252

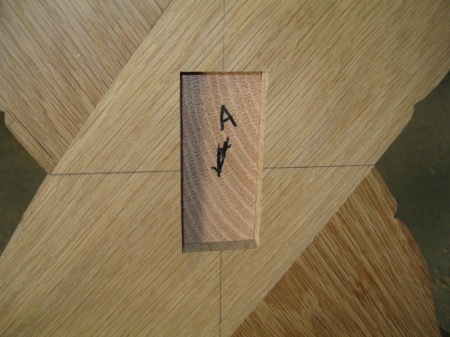
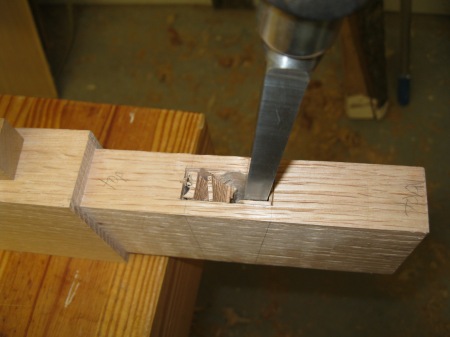
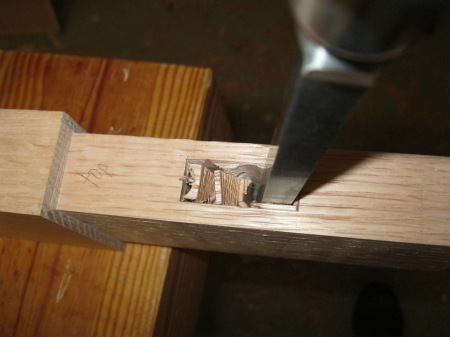
Once the through tenons fit to your satisfaction, create the mortise for the wedges.  The wedges and corresponding mortises are key to the whole structure of the table.  The wedges draw everything tight.

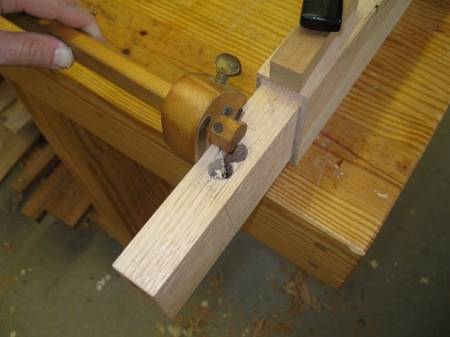
I penciled out layout lines on the tenon and drilled out as much waste as I could on the drill press.  Next I defined the boundaries of the mortise with a marking gauge and knife lines.  These lines are cut rather than marked so that a chisel may be registered in them in the next step.

IMG_2270

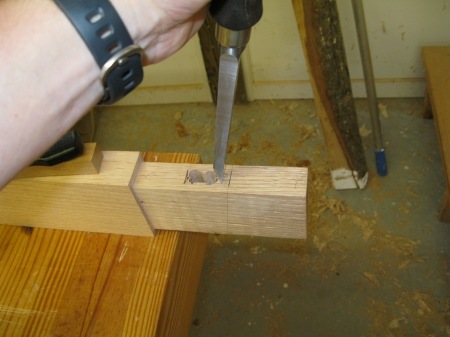
The angled wall of the mortise does not have to be any exact angle.  I just chop it with a chisel, eyeballing the chisel in reference to an angled pencil line.  Whatever angle you chop with the chisel will be matched by the key later, so the actual number is not important.

IMG_2272

IMG_2277

IMG_2278

I used a Narex mortise chisel for most of the work, and then switched to paring chisels to refine the side walls (not shown).

Sawbuck Table Part 3: Through Mortise

June 20, 2012

There are multiple methods you can use to create through mortises; pick one that fits your tools and experience.  Here is the method I use.

1.  Mill a scrap piece to the exact size that you desire your tenon to be.  Cut scrap pieces of plywood and glue/clamp them around the tenon.  Pull the tenon out before the glue dries so it does not get glued in place.  The goal is to create a template with a square opening representing the size of your tenon.

2.  After the glue dries, place the template where you desire the mortise to be cut and outline the mortise with a pencil.

3.  Staying well away from your pencil lines, drill out as much as possible.

4.  Position your template back in place, clamp it securely, and then use a marking knife to outline the opening. This will prevent tearout when you route in the next step.

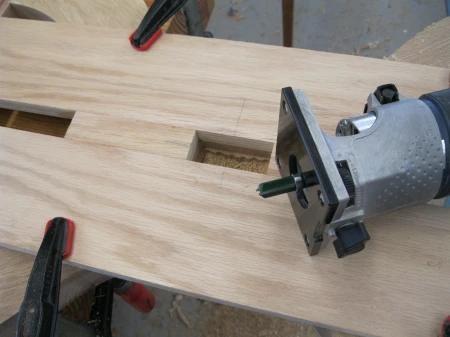
5.  Using a router with a bearing guided bit, route out as deep as possible.  The bearing should ride the wall of the template.

7.  Square the corners with a chisel.  Use the walls of the template to guide the chisel and assist in keeping the chisel plumb.

7.  Remove the template.  Flip the work piece over.  Using a router with a guide bearing on the bottom of the bit, route out the rest of the mortise.  The bottom bearing will guide off of the square opening you created in the first 6 steps.

The result:

8.  Square off the mortise with a chisel.  I always touch up my chisels with a strop before this; white oak is hard on chisel edges, but a strop does a good job maintaining the edge.

The finished mortise.

Sawbuck Table Part 2: Half-lap joints

May 30, 2012

Now for the half-lap joints.

1.  Flatten and square the edges of the boards that will form the joint.  Here I’m removing the band saw marks using a block plane and a spokeshave.

2.  Check to ensure the area is square and flat.  A flashlight behind a straightedge does the trick.

If you can see light underneath your straightedge you have more work to do.

3.  Lay the two boards to be joined on to of one another.  Mark one side with a marking knife.  Shift the board over so it just barely covers the knife line, and then mark the other side.  If you don’t shift the board over you will be off by the thickness of the knife line (I wish I had pictures of this).  Pencil in the knife lines to make them more visible.

4.  Remove the waste (half the thickness of the board).  Here I use a drill press to remove the waste because the joint is not a 90 degree joint (I normally use a table saw with a miter gauge).

5.  Register a chisel in your knife line to clean up the sidewall.  Sight down the chisel to ensure it is vertical and chop out the waste.

6.  Check the fit.  It should be a little too tight.  Resit the temptation to hammer it into place.  Use a block plane to shave down the edges of the other board until it fits.

7.  Repeat the process with the other board.

Finished.  The layout marks in the picture are for the through mortise, which will be part 3.

After I finished the half-lap joints I had to get a preview.  The stretcher is resting on a bucket for now so I can see how it will look; it will get through-mortised into the legs in part 3.

Sawbuck Table Part 1

May 21, 2012

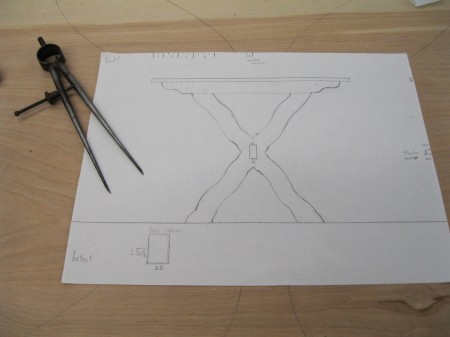
I’m building a sawbuck table similar to this one for some friends.  I start with a scaled drawing.

The purpose of the scaled drawing is to rough out the proportions.  It is almost like solving an equation: always start with your givens.  In this case your givens are 1) the height of the table using the widely used standard of approximately 29″, and 2) the length and width of the table top.  The length and width of the top was derived by taking a large piece of cardboard (representing the top) to the space where the table will be used, setting it upon a small table, and progressively trimming it until the dimensions looked right and fit the space requirements.

Next, start with your easiest decision first, in my case the thickness of the top.  3/4″ seemed right for this size table, but 3/4″ is such an overused dimension that I chose 13/16 just to be little different.  I used dividers to find the right porportion for the rail supporting the top.  First I tried twice the thickness of the top, but it looked too small.  Three times the thickness of the top looked just right.  Then on to the thickness of the legs.  Four times the thickness of the top looked good.

(Use dividers for this.  If you have never used dividers before; you are really missing out.  They help transfer dimensions, find the midpoint of objects, and figure your proportions.)

Then using pictures of sawbuck tables derived from a Google image search to help guide you, sketch in the curves on the legs.  The point of this is to just get the style down in your head; don’t worry about getting the drawing perfect.

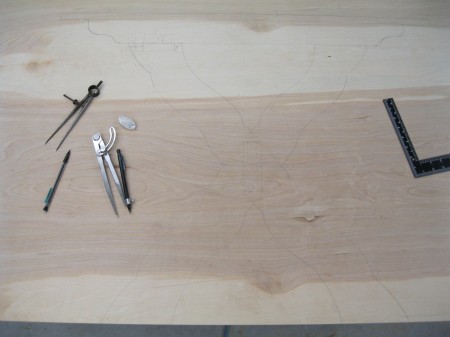
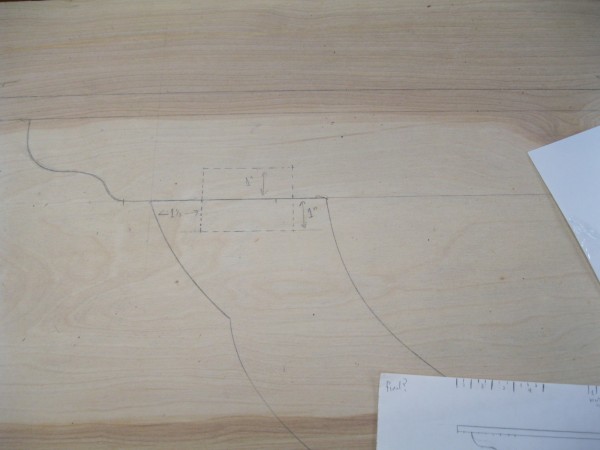
Once you are happy with the scaled drawing; proceed to a full size drawing using plywood (I apologize for the poor picture).

Here you do want to get it as close to perfect as possible.  Don’t be afraid to deviate from your scaled drawing if it doesn’t translate well full size.  I changed the length of the rail.

The full size drawing is when I work out my joinery details; a floating tenon (shown below in dashed lines) will work great for joining the legs to the rail.

Using the full scale drawing as a guide, mill the lumber.  Jointing a leg . . .

. . . and trimming it on the tablesaw.

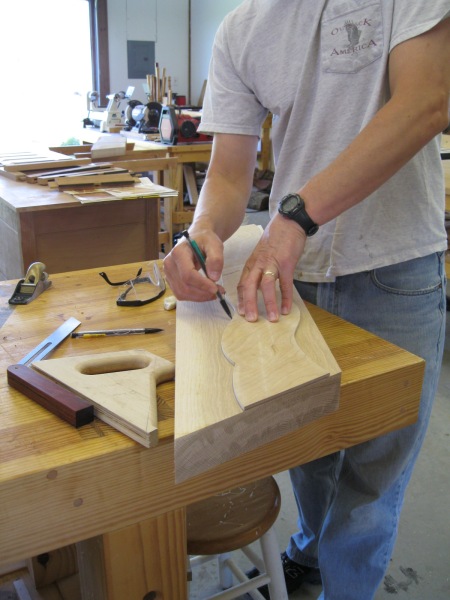
From the full size drawing I cut out a leg template and traced it on the leg stock . . .

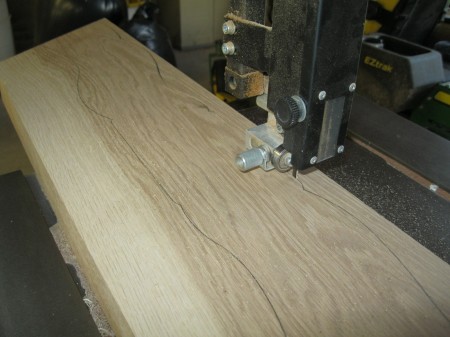
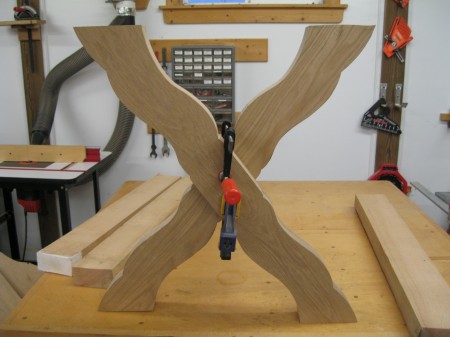
. . . and cut it out on the bandsaw.  Repeat three more times and temporary clamp a couple together to see how it looks.


Chair Repair Part 2

February 25, 2012

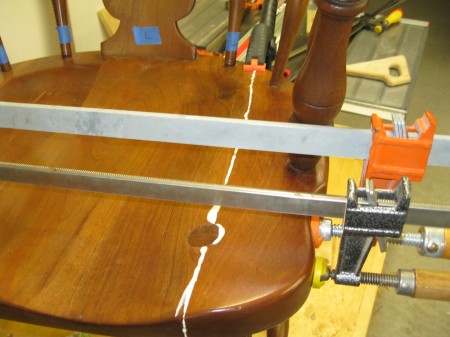
The most visible damage to the chair was actually the easiest to fix.  The broken off seat clamped up nicely.  I got a nice line of glue squeeze out with very little clamp pressure.  This  tells me there is good wood to wood contact in the joint (the excess glue is wiped off before it dries).

The tenon going into the broken off arm rail was epoxied back into place . . .

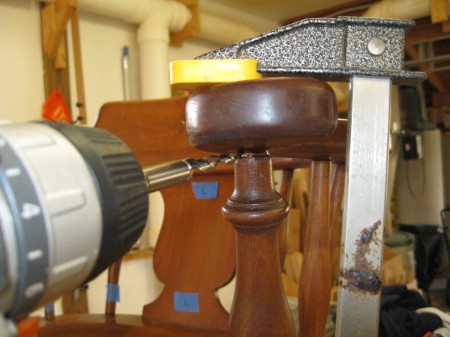
. . . and reinforced with a dowel inserted from underneath where it will not be seen unless the chair is turned over.  I try not to depend on epoxy alone.

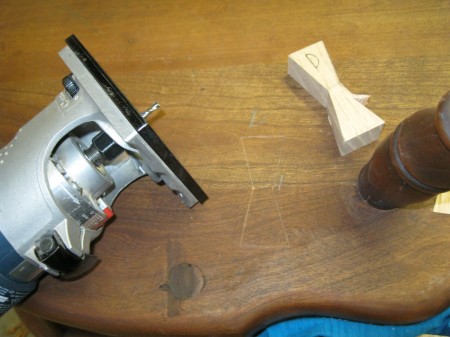
I don’t like to depend on glue alone either, so I cut out dovetailed “butterflies” to reinforce the glue joint in the seat.  The butterflies will be inlaid across the joint on the underside of the seat.

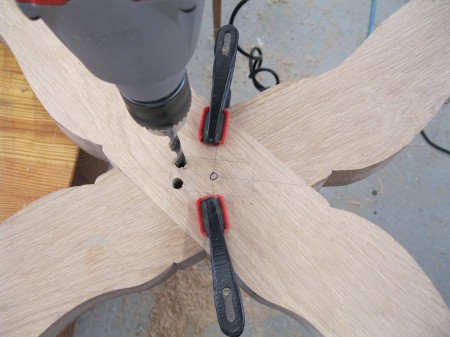
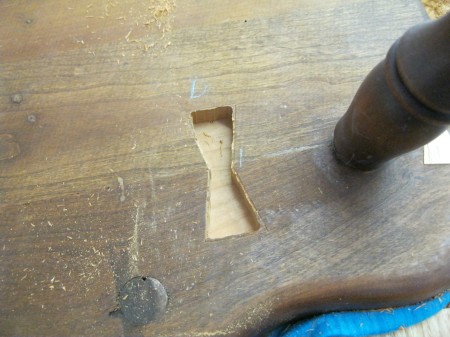
The butterfly is traced with a knife and the material between the knife lines evacuated in order to receive the butterfly.  In the picture below I am drilling out most of the waste; the rest of the material will be removed with a chisel.

Chisel work.

The butterfly is glued and hammered into place and trimmed flush a with a block plane.   The blue rag is taped into place around the seat leg to prevent damage if I bump into it with the block plane.

You can see the outline of the butterfly below.  If you have room to get a trim router in to remove the waste, it is much faster then the drill.  Here I’m about to use a Colt with an upcut spiral bit to remove the waste between my knife lines.

I free hand route up almost up to the lines . . .

. . . and place a chisel directly in the knife line to finish removing the material.  Both butterflies you see below span the glue joint and penetrate into the seat about 5/8’s of an inch.

Chair Repair Part 1

February 25, 2012

Repair work can rewarding and a nice change from building furniture.  The following is how I repaired a client’s chair that had been broken during a move.

Some of the damage to the chair is apparent from the picture below.

The first step is to test all the joints and find out which ones are loose.  I marked the loose joints with blue painters tape.

Loose rungs are best fixed by removing the entire rung.  This allows you to scrape the old glue off .  If you are lucky the old glue is hide glue.  If the chair is old and remnants of the glue dissolve with water, chance are you dealing with hide glue.  This chair was not built with hide glue, which means new glue will not stick to the old dried glue.  The old dried glue must be scraped off of the tenon to expose fresh wood so the new glue has something to adhere to.  Of course, this scraping process removes some material so it loosens the joint.  In my case most of the joints in the leg stretchers were  loose enough that a blind wedge was required to fill the gaps.

To make a blind wedge cut a kerf in the end of the tenon  . . .

and insert a wedge.  The depth of the tenon’s mortise must be considered when making the wedge.  The wedge must be long enough and angled enough to spread the tenon into the mortise, but not so long that the tenon spreads too much (or the wedge bottoms out in the kerf before it fully seats).

Although you can’t see them (hence the name “blind wedges”), there are wedges in both ends of the rung between the clamps.  Clamp pressure forces the wedges into the kerf.  The clamp on the top of the leg is holding the leg for alignment purposes only.

The top of the leg is glued and doweled in place.  I don’t trust glue alone so a Miller dowel was inserted (the end of the dowel was trimmed after I took the picture below).
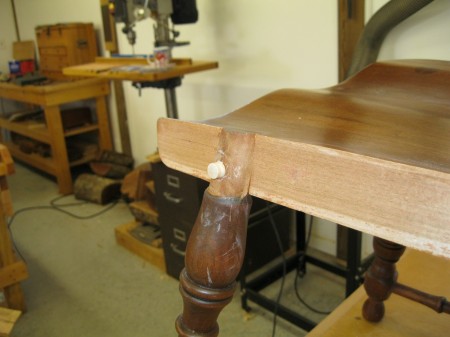
A chunk off the end of the broken arm rail was barely hanging on, I completely removed the chunk with hand pressure.
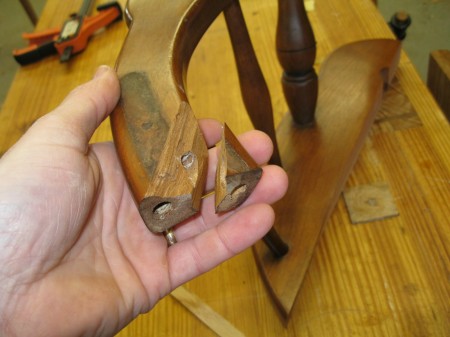
I glued the chunk back in place and pinned it with dowels for reinforcement (I forgot take pictures when drilled and inserted the dowels).  I like to make my own dowels using a Lie-Nielsen dowel plate.

After the chunk was glued back in place a inlay strip was needed to fill the gap left by some missing splinters.  The inlay strip will also help hold the chunk in place.  I placed a strip of cherry over the gap and traced it with a knife.
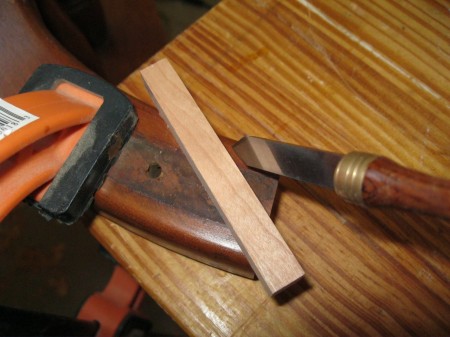
I evacuated material inside my knife lines using a chisel to create a square recess for the inlay strip.

Here is the strip after it was glued in place.
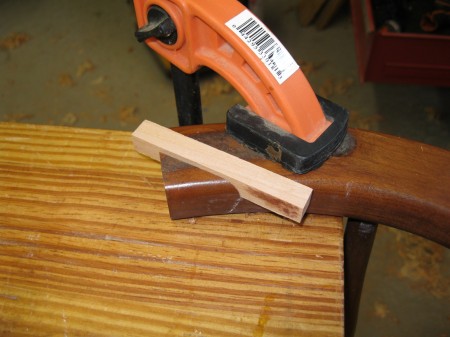
I trimmed the excess with a chisel.

Two bowls

July 12, 2011

I like turning natural edge bowls out of green wood; it is a nice change from flat work since you have a finished product in hours instead of days.  I even sand and apply lacquer an hour or two after I finish turning it.  I don’t see a need to let it dry completely out before finishing (I’m sure I’m breaking someone’s rule, but it works for me).  The bowls distort somewhat after a week or two.

The wood is cherry cut from a local downed tree.  There are plenty of  excuses to use a chainsaw when you are a turner!

Jewelry Box

June 12, 2011

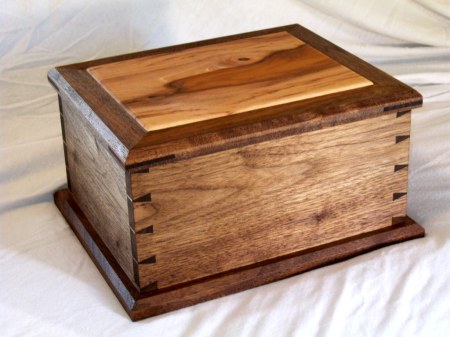
I decided to satisfy my urge to make a jewelry box by thumbing through a Doug Stowe book and as a result made this one out of sweet gum and walnut.  I used his basic design and dimensions, but I changed the interior and lid and added a false bottom.

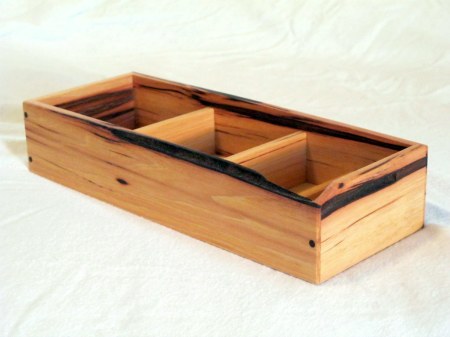
I like the look of the sweet gum.  I have had it air drying for over a year now after paying to have milled, and it felt good to finally use it.  It matched the walnut surprisingly well.  I made the sliding tray out of it as well as the lid insert.

Sweet gum is strange wood.  It has interlocked grain and is difficult to hand plane.  As if to make up for that, it does scrape really well.  It machines well with routers with no “fuzz” and little tearout.  It is surprisingly hard, dense and heavy.  The whiter parts of the wood are not creamy white, but rather dirty white.  I do love the streaks in it.

The tray slides back and forth to reveal partitions underneath.

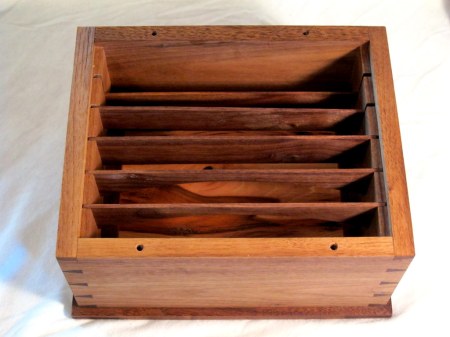
By removing the top from the base, a “secret” compartment is revealed.

Besides giving you access to the false bottom, removing the top from the base also allows you access to rearrange or remove the dividers to suit the items you desire to store underneath the sliding tray.